
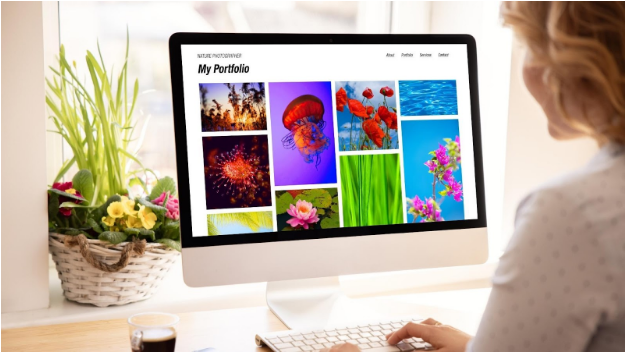
Every business owner is well aware of the value of capturing sharp images, especially if his/her business is online. From new lenses to cameras with commendable shake reduction features and the sturdier tripods, technology today is quite advanced, allowing to capture crisp images in varying conditions.
In most of the cases, you look for a crystal clear and sharp picture. While, in some cases, the camera makes a difference, in other cases, it is the photographer, editing, and the post processing software. Here’s what a professional web design company recommends to get sharp photographs for your website.

Hand Holding
In most cases, images fail to be sharp owing to hand or camera movement while a shot is taken. Shaking can blur images. Thus, it is quite vital to defend yourself.
- Image Stabilization Lenses
If you own a DSLR camera, invest in a good Image Stabilization Lens. This is true especially if you are using a heavy lens since the weight alone can make a huge difference. This is more noticeable if you are on a long photo shoot and your arms tire out.
- Tripod
A good tripod is certainly worth investing in. They are perfect to use for landscape photography. The key to successful use is setting it up in a sturdy spot. In case one of its legs is unstable, it will cause movement, thereby making space for blurred image.
- Remote Shutter Release or Timer
With cameras set on tripods or a stable object like a wall or a table, you can set off the timer. In this way, you need not put pressure on your camera while pressing the shutter. This increases stability. The remote shutter releases are also great as an idea. They are invaluable in sharp image creation. Make sure to set the focus before you start shooting through the timer.
Manual Focus

Though auto focus is superb, nothing can match manual focus. It will provide you with sharp images continually, even in low lights. Apart from being a great thing, it is also quite easy to use. Manual focus is particularly helpful for macro photography, since several cameras struggle to lock onto the very close subjects.
Clean Lens
Before and during shoots, the significance lies in keeping lenses clean. Smudges and dust do not only soften images, but also distort colors and lights. Keep a few tissues on you. If you want to use a cleaning fluid, mix 5 parts of water with one-part cleaning solution. Spray this onto the tissue rather than the lens.
Aperture
Aperture setting casts a direct impact on the focus. Shallow field depth or low f-stop creates more blur in front or behind the subject. Large depths of field or high f-stop put things in focus.
The portrait photos work well with shallow depth of field. Be careful if the subject is sharp. You need to focus on the eyes of the subject.
For the landscapes, you need the whole image to be sharp. Though most set them at f-11 or higher, the professionals set it at a range between 7.1 and 9.
ISO
The ISO settings should be chosen depending on the lighting condition. In case the subject is in poorly lit areas, the shadow will not include the details.
Increase ISO to 200 on cloudy days and 400 if indoors. You need to higher the ISO as the light decreases.
Shutter Speed
Just like ISO and aperture, the shutter speed of the camera can also enhance the sharpness of the image. Faster the speed of the shutter, less is the time the shutter is open. Less the time it remains open, higher are possibilities to get a sharp image. Simple, right?
Sharpening Tools usage
Photoshop has several tools to sharpen images. Though the sharpening tools work perfect, at times, it helps if you are selective about the things to sharpen. For example, you need not sharpen water or clouds since they are expected to be soft. Sharpen on a separate layer; this will allow you to mask unnecessary changes.
Remove Noise Selectively
Just as you did with sharpening, if you need to remove noise, you can do that selectively. Remember that this process will lead to the loss of details. If you remove noise on a separate layer, you can mask out the textured areas or other areas that need not be softened.
Save the edited copy as a new file. Keep the original intact. You should look to have at least 4 versions of your photos in the form of:
- JPEG or PNG optimized for web upload (optimization is a must to improve the site loading speed)
- Photoshop file reflecting the edits
- High-resolution version for printing
- Camera RAW file
This will save you a lot of trouble in case you need some changes in the future. So that is more less it. We hope this post comes in handy for your website design and development.